

What is the Best Way to Use a Highlighter Brush?
Using a highlighter brush can elevate your makeup game, creating a luminous glow that enhances your features. But how do you achieve that perfect highlight? This guide will walk you through the best techniques and tips for using a highlighter brush effectively.
Choose the Right Highlighter
Selecting a highlighter that complements your skin tone is the first step. Liquid, cream, or powder formulas can all be effective, so consider the finish you prefer.
If you have fair skin, opt for highlighters with pink or pearlescent undertones. Those with medium skin can explore gold or peach shades for a beautiful glow. Finally, deep skin tones shine with rich, bronze or copper highlighters. The right choice enhances your natural beauty.
Also, consider how the product interacts with your skin type. If you have oily skin, a powder highlighter might be the best choice. On the other hand, cream and liquid formulations can work wonders for dry skin types, giving a dewy finish that looks fresh and youthful.
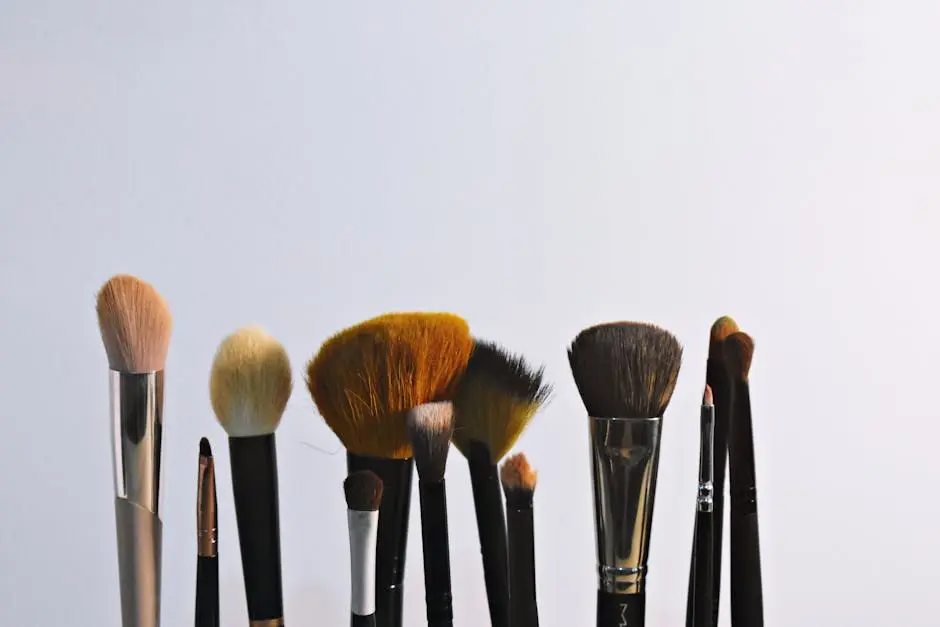
Select the Ideal Brush
A soft, tapered highlighter brush will help you apply the product precisely. Different brushes can create various effects, so pick one that suits your desired look.
For a diffused glow, consider a fan brush, which allows for easy application across larger areas. For a more pinpoint highlight, look for a finer brush that can target specific spots more effectively. The right tool is essential to achieving that flawless finish.
Don’t forget to clean your brush regularly! This helps maintain the quality of your makeup application and prevents buildup of product, ensuring that each use of your highlighter brush provides a fresh, even application.
Application Techniques
Use light, sweeping motions and focus on the high points of your face. Common areas include the cheekbones, brow bones, and down the bridge of the nose.
Begin by placing a small amount of product on the brush, tapping off any excess before you apply. This helps avoid overwhelming your skin with too much product at once. Think less is more, especially when you are just starting!
A popular technique is to apply highlighter in a ‘C’ shape around your eye area, starting from the brow bone down to the high point of your cheekbone. This creates a natural lift and brightens your face without looking overly done.
Blend for a Natural Finish
Blending is key! Use your fingers or a makeup sponge after applying highlighter to ensure a seamless, natural look.
Remember, blending can give you that soft, glowing effect that mimics the way light naturally hits your skin. After applying, gently tap and blend out the edges to avoid any harsh lines. The goal is to make the highlight look like it’s coming from within your skin.
As you blend, take a step back and assess your look. You might find that you need to go back in with more product or blend it out further depending on the lighting and your preferences.
Experiment with Layering
Don’t be afraid to layer your highlighter for more intensity. Start with a subtle application and build up until you achieve your desired glow.
You could try using a cream highlighter as a base layer and then follow it up with a powder highlighter for a more pronounced effect. This technique adds depth and dimension to your makeup look, creating a stunning light-reflective quality.
Layering not only enhances the glow but also allows you to adjust your highlight appearance according to different occasions. You can opt for a soft glow during the day and amp it up for an evening outing or special event.
Final Thoughts on Highlighter Brush Techniques
With the right technique and a bit of practice, using a highlighter brush can become a simple and enjoyable part of your makeup routine. Remember to choose the right product and brush for your skin type, and don’t be afraid to experiment with different applications.